Our garden comes into full bloom in July and August, so I thought I’d document what’s blooming, whats about to bloom, and what has seed pods.
Full Bloom
Black Eyed Susan (Rudbekia Hirta)
This hardy garden standard is coming in full bloom with a few buds still opening. I’ve noticed this year that as other plants become more established, some of our Black Eyed Susans are too short for the beds they’re in. Next year, we’ll have to move them to the front of the bed or a shorter area.
Tall Meadow Rue (Thalictrum dasycarpum)
It’s tall! At about six feet tall our Tall Meadow Rue has been blooming for a couple of weeks now. I wish we had a small cluster of these!
White Yarrow (Achillea millefolium)
Unstoppable, our White Yarrow has been in full bloom for a few weeks.
Hair Bell (Campanula rotundifolia)
We had a small cluster of Hair Bells but a combination of last year’s drought and crowding has left us with one. But it’s going strong!
Bee Balm (Monarda didyma)
Our Bee Balm is a brilliant splash of colour on the berm is is a real show-stopper right now.
False Sunflower (Heliopsis helianthoides)
False Sunflower contrasts wonderfly with Bee Balm and forms a dense, flowing cluster.
Foxglove Beardtonge (Penstemon digitalis)
We planted our Foxglove Beardtonge in an area we call the “nursery bed” while we wait for some beds we have tarped to be available. Foxglove Beardtongue is a long bloomer and has dense flower clusters. Our nursery bed gets about 4 hours of sun a day but this isn’t enough for this plant! It’s flopped over onto the neighbouring Dogwood.
Meadowsweet (Spirea alba)
I’ve noticed that Meadowsweet can be a long bloomer in the right conditions and will cut it’s blooms short in dry weather. We’ve had a mix this year but really good rain in June. Our Meadowsweet started blooming about a week ago and is still going strong.
Butterflyweed (Asclepias tuberosa)
Butterflyweed takes a couple years to establish and once it is, it’s a long-blooming, eye-catching plant. We have five of them in full bloom on garden edges right now.
Just Starting
Pearly Everlasting (Anaphalis margaritacea)
A sturdy, dry-loving plant with thick, moisture-retaining roots, Pearly Everlasting is starting to bloom right now and its flowers will last well into September.
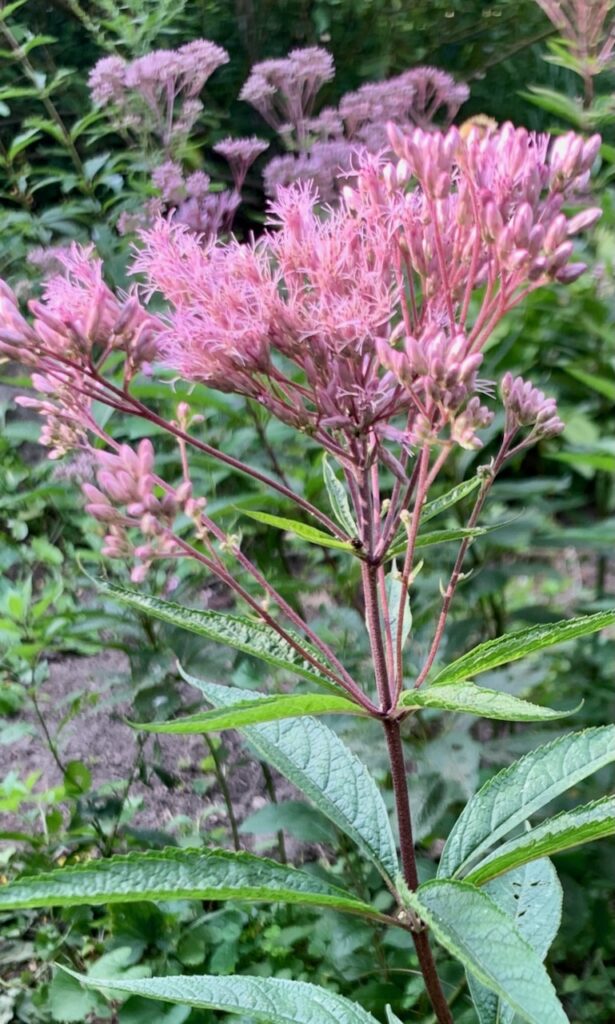
Spotted Joe Pye (Eutrochium maculatum)
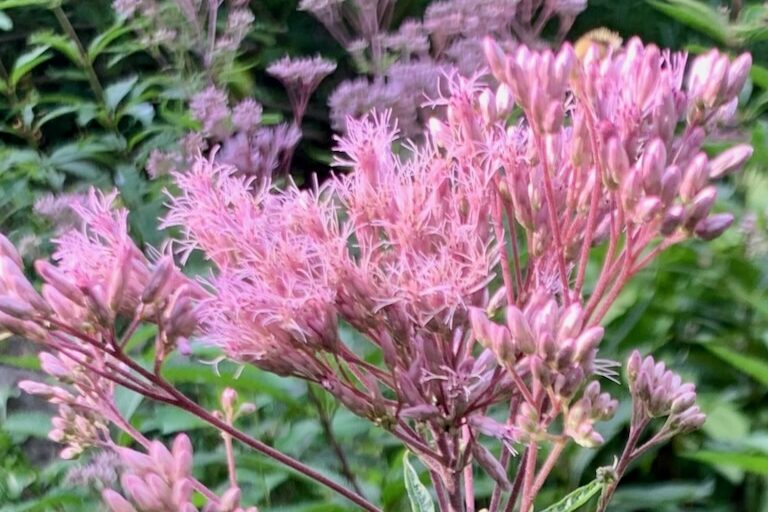
We have a handful of Spotted Joe Pyes in well-drained areas. They range from four to seven feet tall right now and their lavender flowers are just coming out.
Purple Conflower (Echinacea purpurea)
Another garden workhorse, Purple Coneflower is just coming out right now. To our knowledge, all our Purple Coneflower is native but there is a clear distinction between the straight native plants and the ones cultivated by a traditional nursery. The traditional nursery plants are stout and dense where the natives are sparse and tall. Two of our native Purple Coneflowers are almost five feet tall!
Yellow Coneflower (Ratibida pinnata)
This sun-loving coneflower is in the early days of blooming. The plants crane towards the sun and will flop over easily if they’re not supported. It grows really well in a dense meadow setting.
Cool Buds Forming
Rose Mallow (Hibiscus moscheutos)
Rose Mallow, a species of special concern in Ontario, is forming is alien-looking buds right now. We have a small cluster of them in a rain garden and it is thriving. Rose Mallow is native to small pockets of south-western Ontario.
Big Bluestem (Andropogon gerardi)
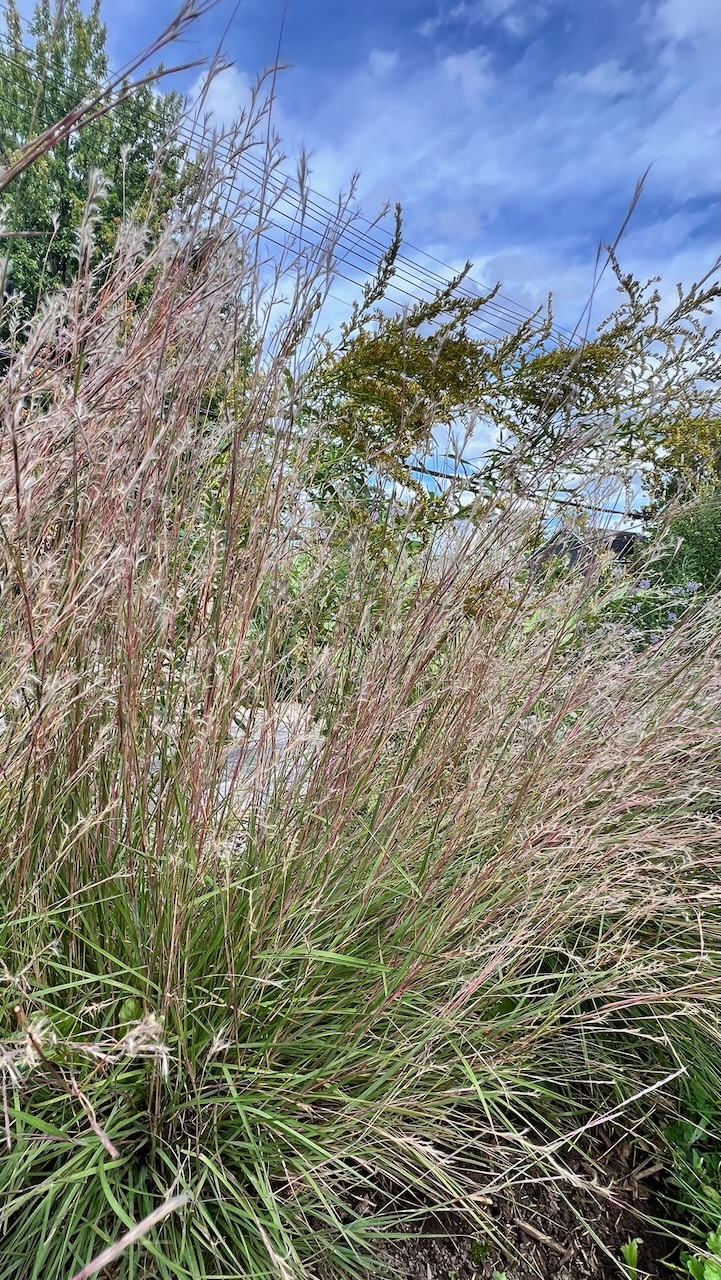
Big Bluestem can take a few years to establish, and once it does it will form tall, dense stands of grass that look beautiful through the summer and fall. I noticed this morning that some of our stands are just starting to form their buds.
Wild Bergamot (Mondarda fistulosa)
Our Wild Bergamot has strong buds right now. I’ve noticed this year that the small clusters that have self-seeded are looking healthier than the older, denser plants. To prevent powdery mildew, I thinned the denser clusters this year.
Dense Blazing Star (Liatris spicata)
Dense Blazing Star is threatened species in Ontario. Like Rose Mallow, it is native to pockets of South West Ontario. In our garden, the plants that get the most sun are just starting to bloom while the ones in shadier locations are in the early stage of forming buds.
Seed Pods Forming
Bottlebrush Rye (Elymus hystrix)
An early bloomer, all of our Bottlebrush Rye are forming their seedpods right now. Bottlebrush Rye’s stiff-looking flower creates beautiful texture in the garden.
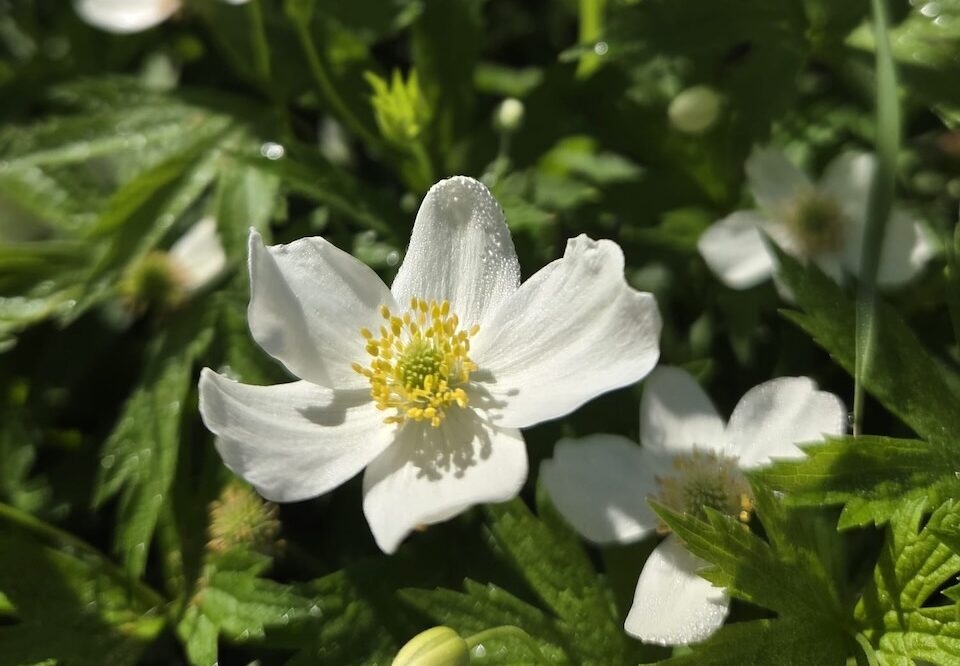
Canada Anenome (Anenome canadensis)
Long-blooming, Canada Anenome has started forming its seeds, which provide visual intrigue and texture.
Hairy Beardtongue (Penstemon hirsutus)
This easy-to-grow plant is now forming its seed pods after a long spring blooming period. The pale purple/lavendar flowers were a joy in the garden this season.
Lanceleaf Coreopsis (Coreopsis lanceolata)
Lanceleaf Coreopsis is still in bloom in your yard but is on the tail end. Most plants have juicy-looking seedpods forming.
Bush Honeysuckle (Diervilla lonicera)
This is the first year our Bush Honeysuckles bloomed. It had a short bloom period with tiny yellow flowers. Our Bush Honeysuckles are still getting established. They’re not in ideal conditions for the plant due to the high silt content in our soil but we’re pleased with the low-growing density they provide.